Custom Email Branding
Email Branding
Custom Email Branding
-
Open Email Branding
Navigate to Settings → Email Branding in your dashboard. -
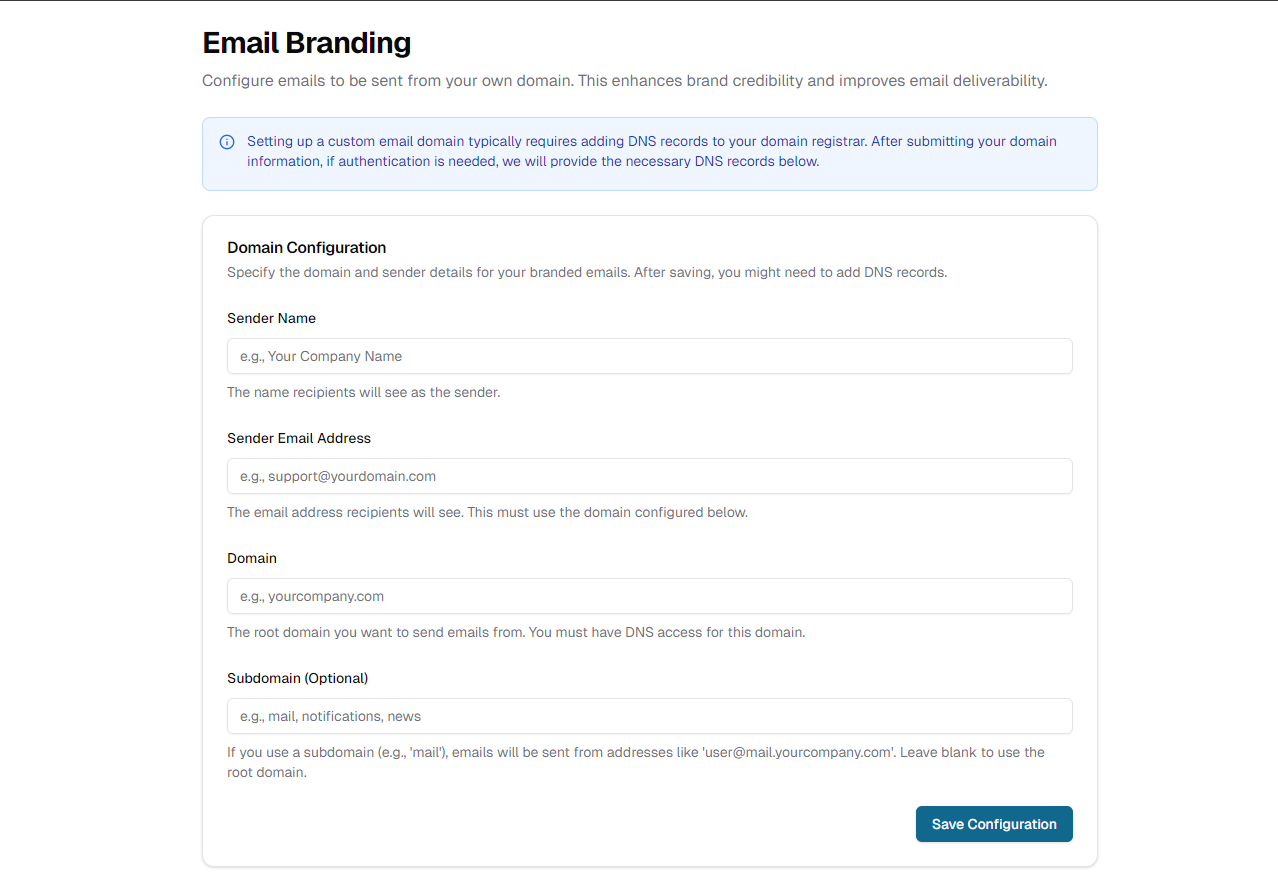
Domain Configuration
- Sender Name
The “From” name your recipients will see (e.g. “Your Company”). - Sender Email Address
Must use your domain (e.g.support@yourdomain.com). - Domain
Your root domain (e.g.yourcompany.com)—you'll need DNS access. - Subdomain (optional)
If you enter “mail”, emails come fromuser@mail.yourcompany.com; leave blank to use the root.
- Sender Name
-
Save Configuration
Click Save Configuration.
You'll then see any required DNS records (SPF, DKIM, etc.). -
Add DNS Records
Copy the provided entries and add them at your DNS provider. -
Verify & Send
Return to the Email Branding page and click Verify (if prompted).
You'll see the verification status of your domain like this:
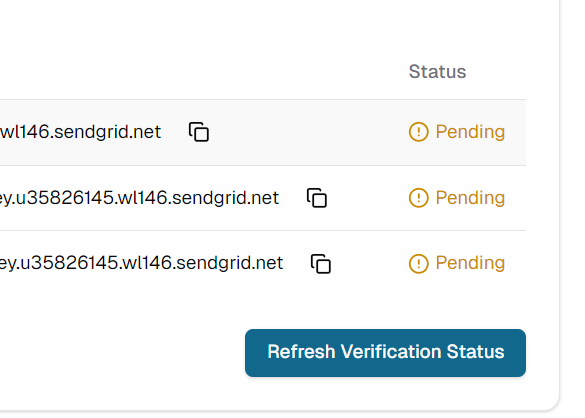
Domain Verification
Once verified, all outbound emails will use your branded domain for improved deliverability.